In the previous post, we showed you how to create multiple Switchboard Pages. In this post we will be showing you how to use Macros with your Switchboard Form.
One of the issues with the previous post was that when we opened a report, it opened up in Report View. This isn’t always a bad thing but it does look more professional if the report is opened up in Print Preview. We will test this on rptSuppliers.
Please download 04_dbTedsTranslations_1 to follow the post.
In order to open up a report in Print Preview, we will need to write our own Macro.
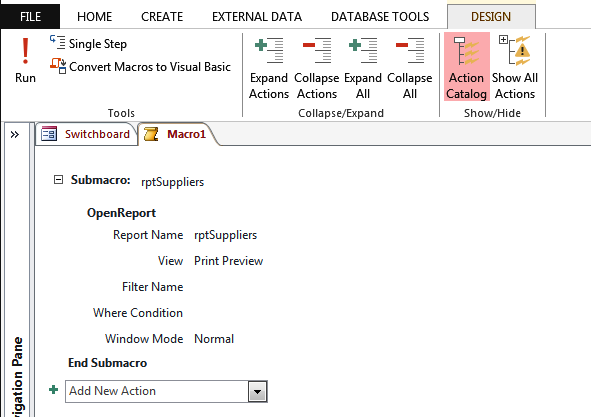
Click on the Create tab on the Ribbon and from the Macros & Code Group choose Macro.
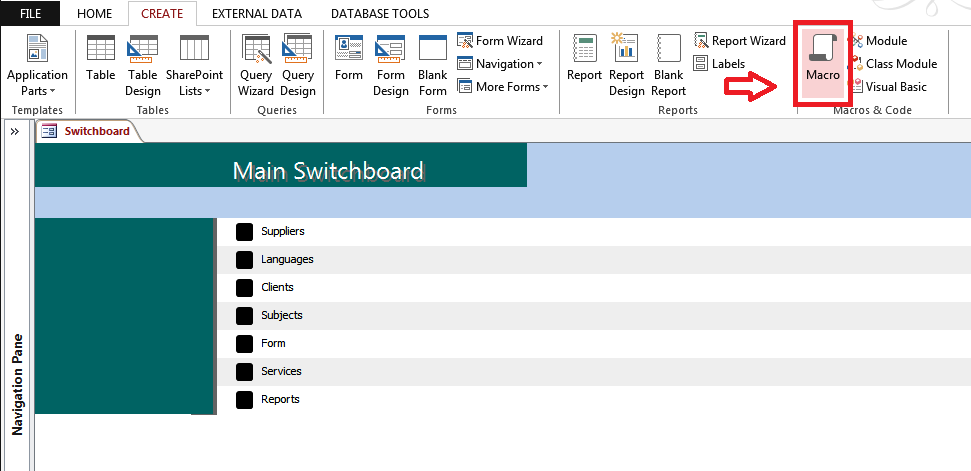 The Macro designer will open up. Choose Submacro from the drop-down menu and fill in the fields in accordance with the image below.
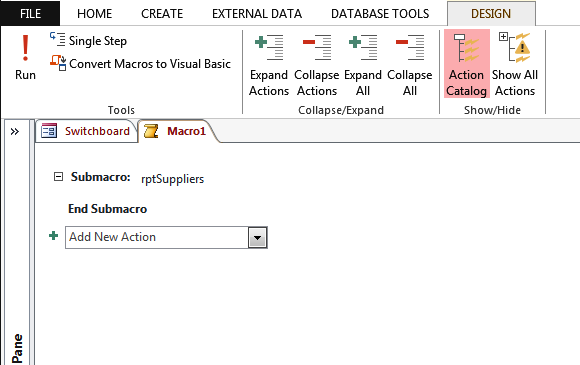 Within the Submacro choose Open Report and fill in the fields in accordance with the image below.
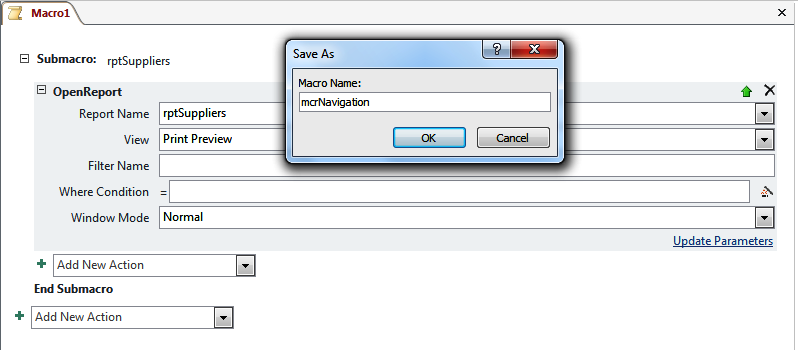
Right-click on the tab where it says Macro1 and choose Save. Name the macro mcrNavigation.
 Close mcrNavigation and open up frmAdmin. Click on cmdSwitchboard.
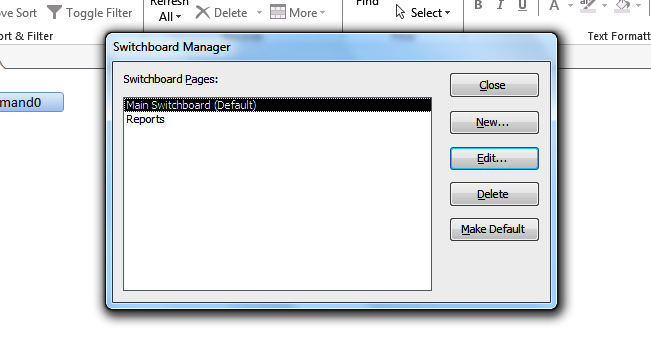 Click on Reports and click the Edit button.
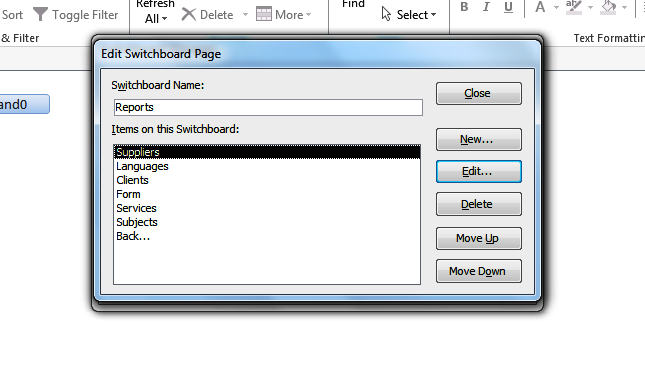 Make sure Suppliers is clicked and click on Edit.
Change the fields to look the same as the image below.
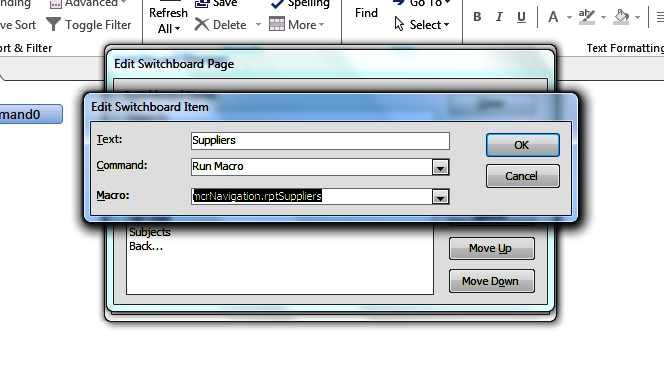 Click OK. Close all the dialog boxes associated with modifying the Switchboard and open up the Switchboard form. Click on Reports.
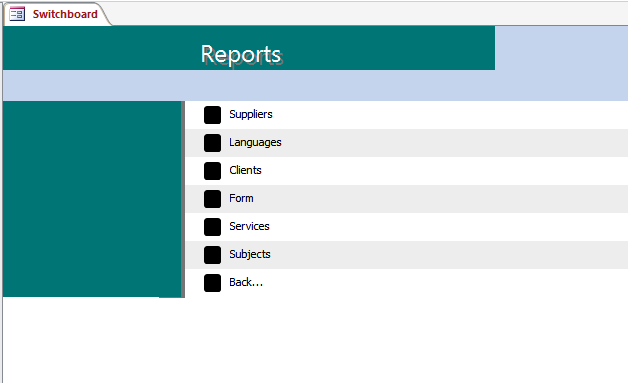 If you now click on Suppliers, rather than rptSuppliers opening up in Report View, it will open up in Print Preview.
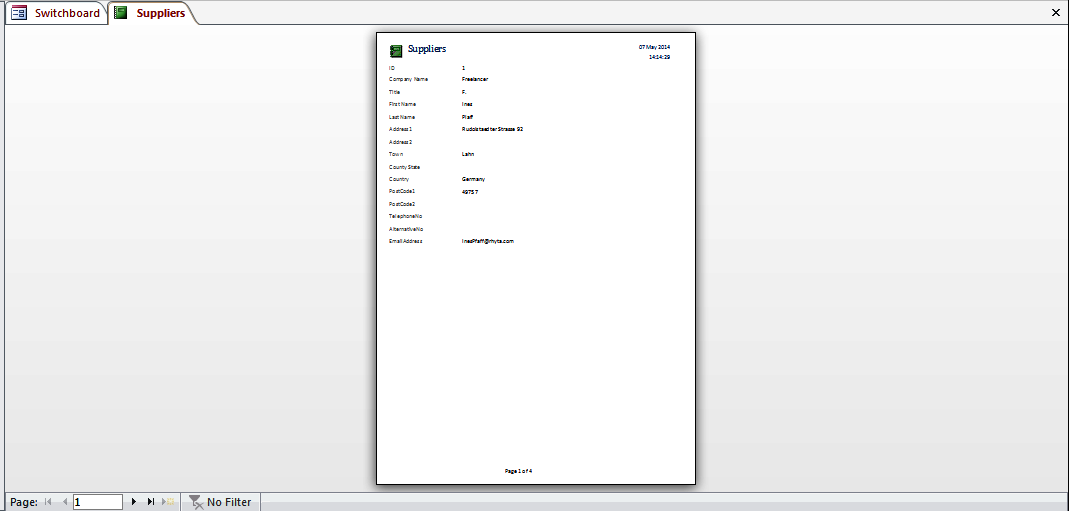 In this post, we have shown you how to use Macros to open up a report in Print Preview. Of course, we can use Macros to do much more than open up reports in print preview. If, for example, you have a date-to-date report that needs to opened, you could use the Macro to open up an intermediate form where you can choose the start and end dates before opening up the filtered report.
In the next post, we will be looking at calling VBA functions from the Switchboard.
